Seeding data via CloudBerry Backup part I
Product: CloudBerry Backup, Cloudberry Backup Ultimate
Versions: 4.8 and later
Product type: Standalone
Platform: Windows
Created at: Oct 20, 2016
Updated at: Oct 20, 2016
Author:
Problem
While CloudBerry Backup is great for day-to-day use, the initial backup may pose a problem for users with slow or pricey internet connection. Suppose you installed Cloudberry Backup on your computer and want to start backing up one of your hard drives. If the volume of data is relatively small, the task is pretty much straightforward: set up a backup plan and run it. However, if you’re working with rather large volumes of data, poor or expensive internet connection may urge you to find a different solution to this problem. Namely, use a different computer that has a decent connection.
Naturally, CloudBerry Backup stores files in a certain way: certain file structure, certain file naming conventions, etc. So you cannot just “dump” your files into your cloud storage on one computer, and then expect CloudBerry Backup on another computer to just “pick up” those files during the next backup plan execution.
Resolution
There is a workaround for this issue, however. You have two options:
- Use “Custom Mode” when creating a backup plan. This is the easier option. That way you don’t need to get technical and tinker with buckets, repository syncs, changing prefixes, setting identical file structures on both computers, etc. Note that this option is fairly unsophisticated and does not allow you to use encryption. In summary, little effort and few options.
- Use “Advanced Mode” when creating a backup plan. This option gives you greater flexibility when it comes to backup options, while requiring extra effort in setting things up properly on both machines. In summary, extra effort and extra options.
This article is only covering the first option. To learn more about the second option – read this article.
Without further ado, let’s get to the tutorial.
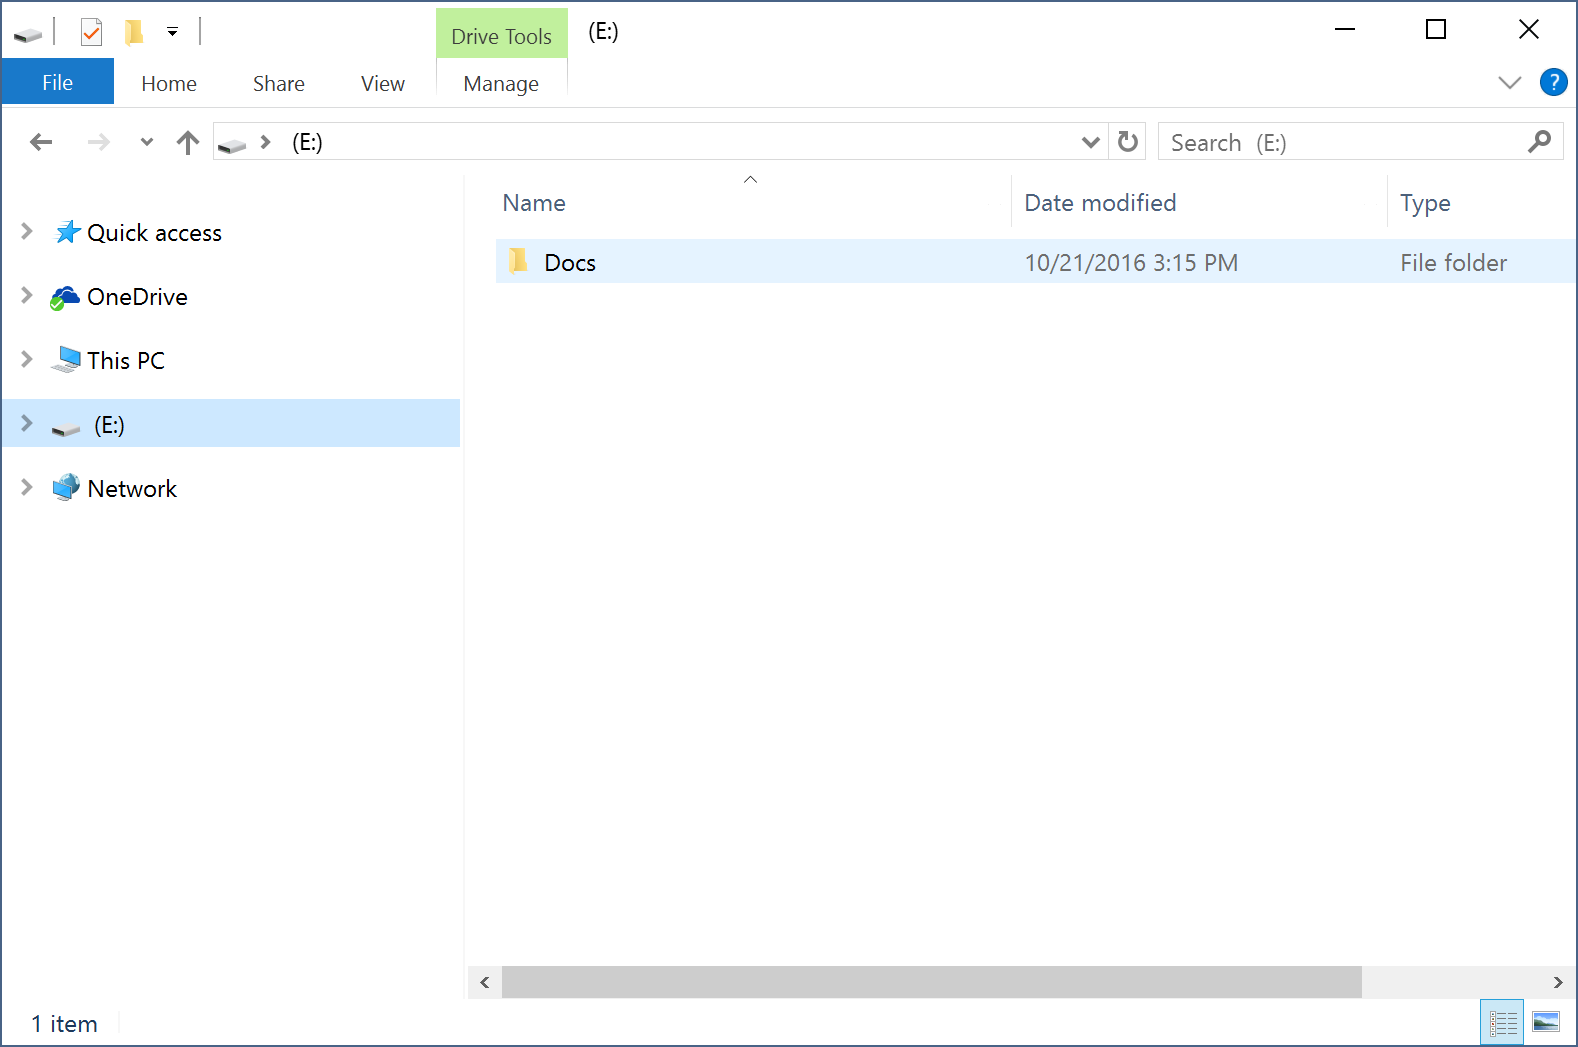
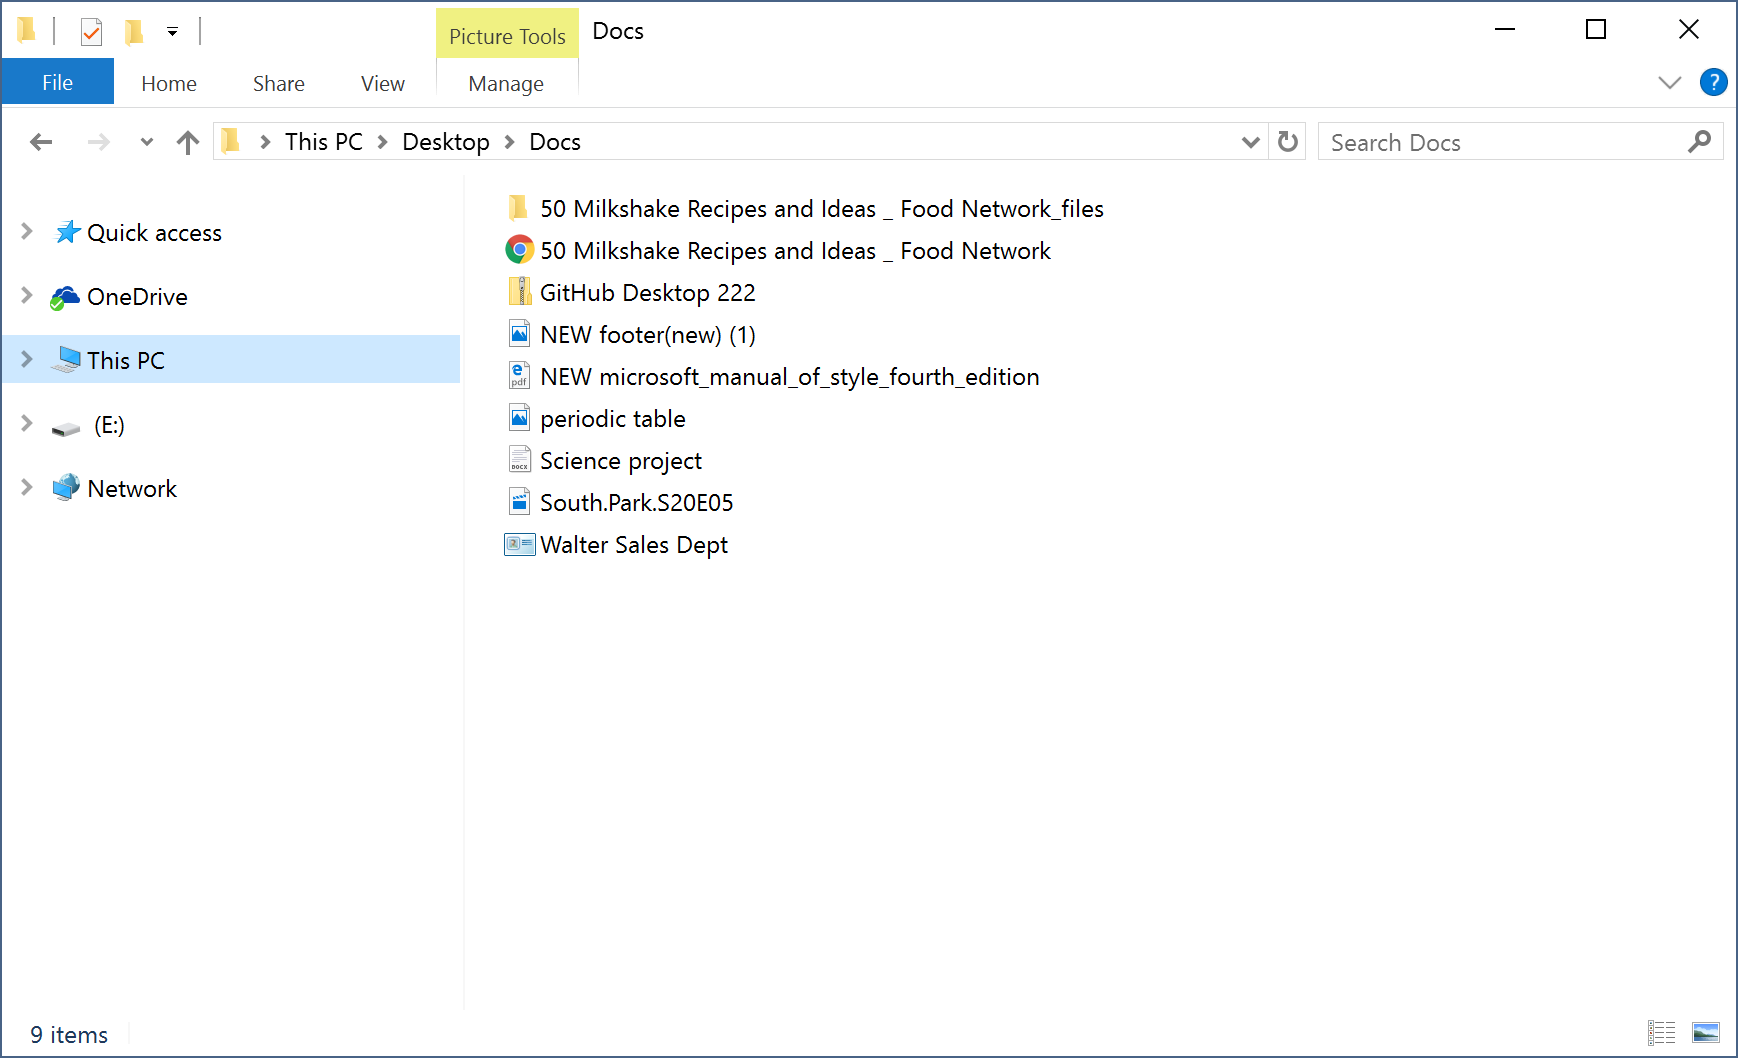
First things first, you need to copy your large files onto an external hard drive. In our example a folder named “Docs” was copied from the “slow PC” onto a USB flash drive. This folder contains all the large files that would take forever to upload on the “slow PC“.
Now open CloudBerry Backup on the “fast PC” and enter your Amazon credentials (security keys). Then create a backup plan as follows:
- Launch the Backup Wizard and click Next.
- Select your storage and click Next.
- Pick a name for your backup plan and click Next.
-
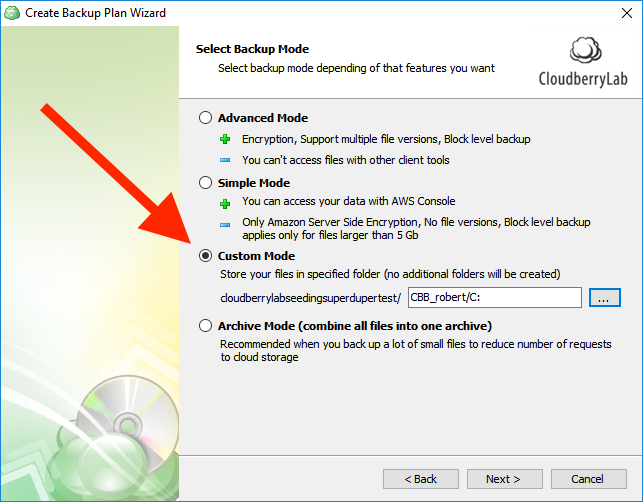
Select “Custom Mode” and then select the folder in your cloud storage where you wish to store your files. Click Next two times.
-
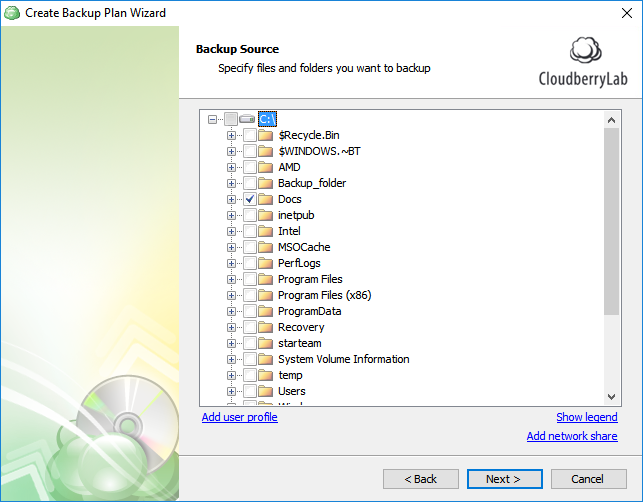
Now you can select the folder you want to back up (“Docs” in our case). Click Next.
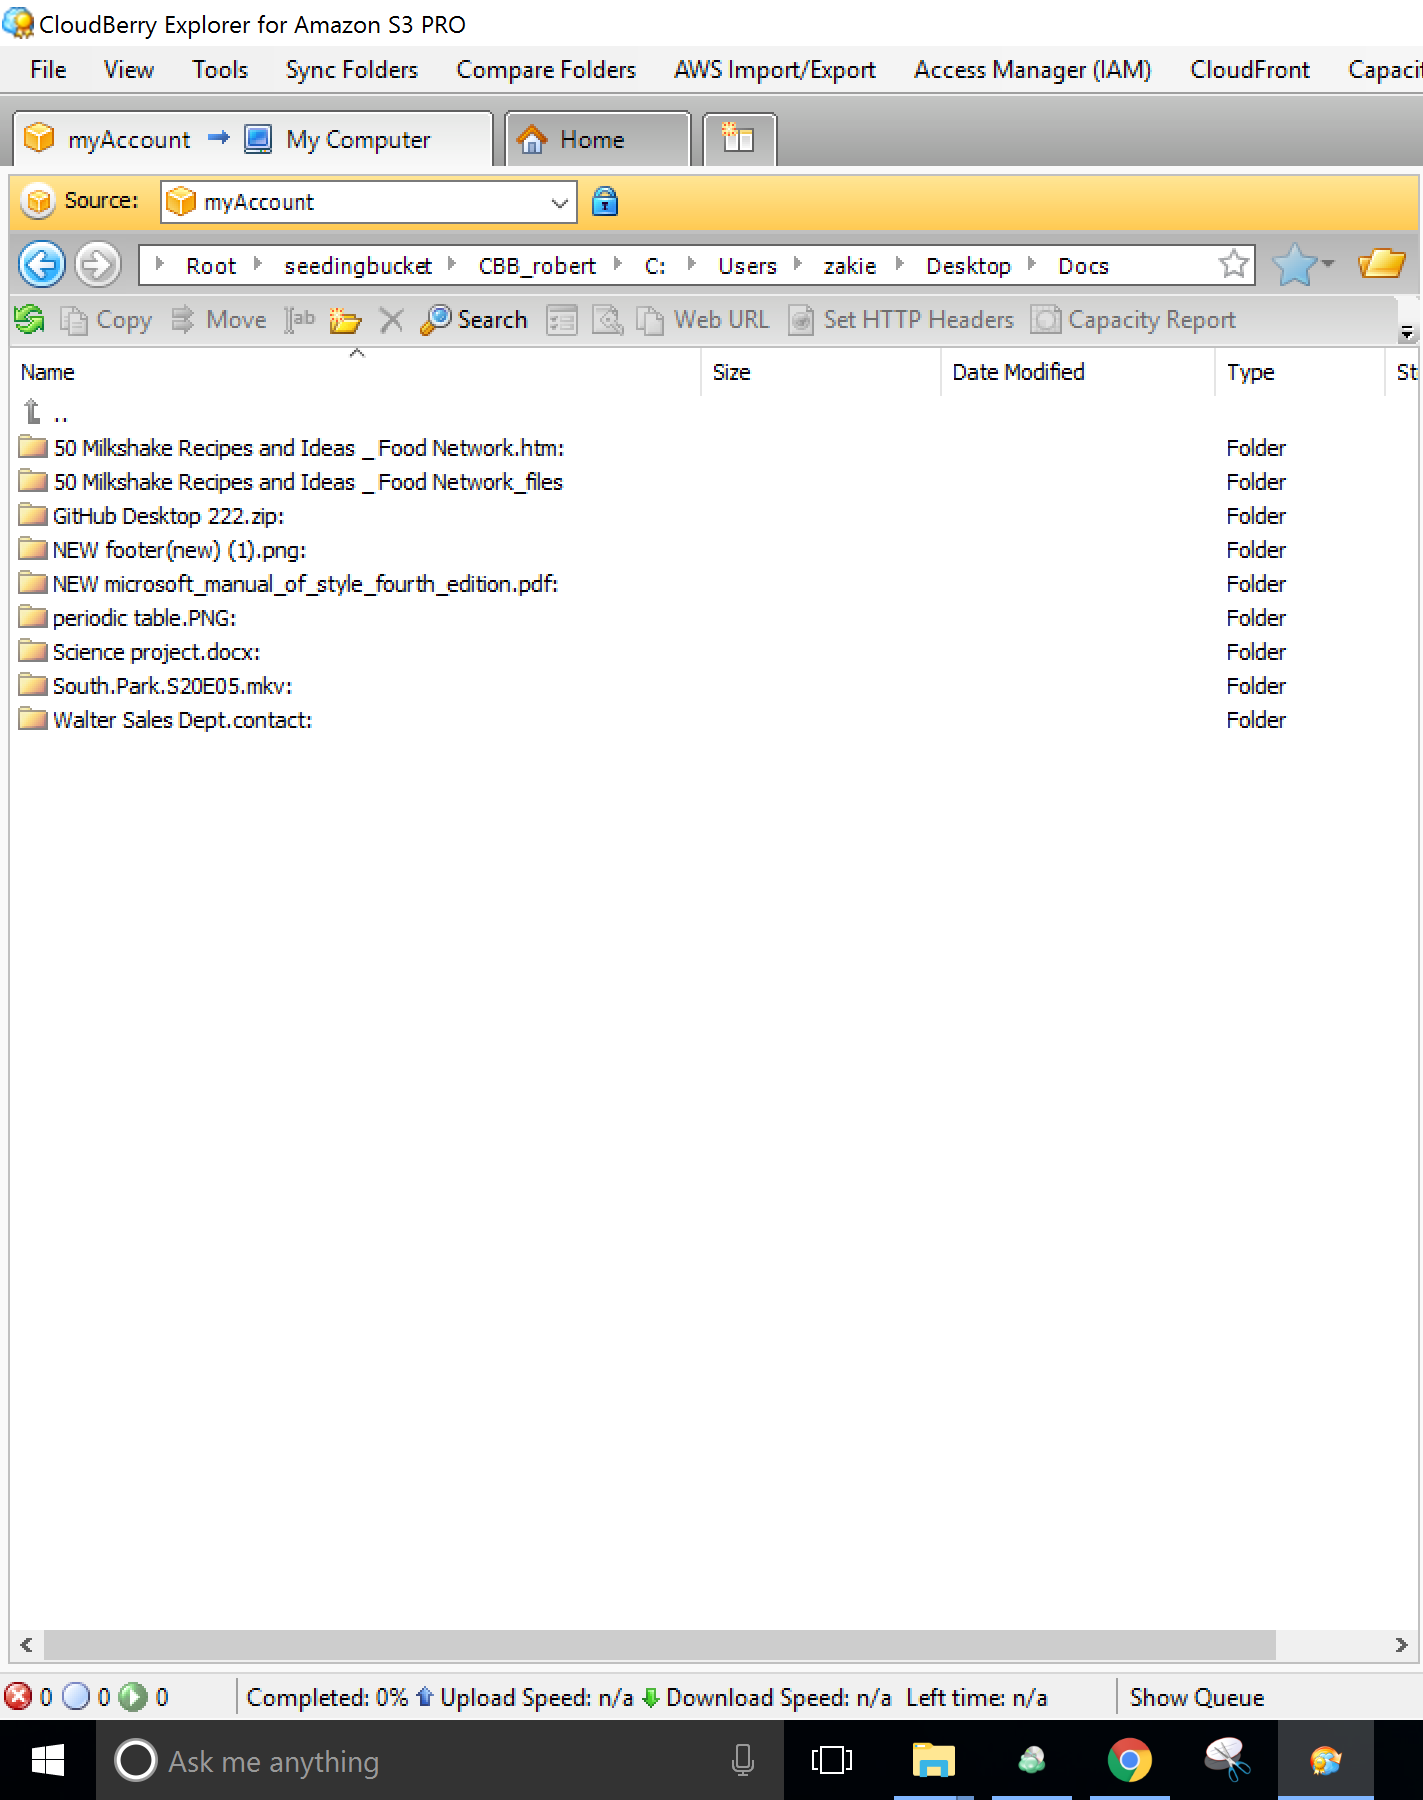
- Now continue setting up the plan. Upon finishing, run the plan once, and your data should be successfully uploaded into the specified folder in the cloud storage.
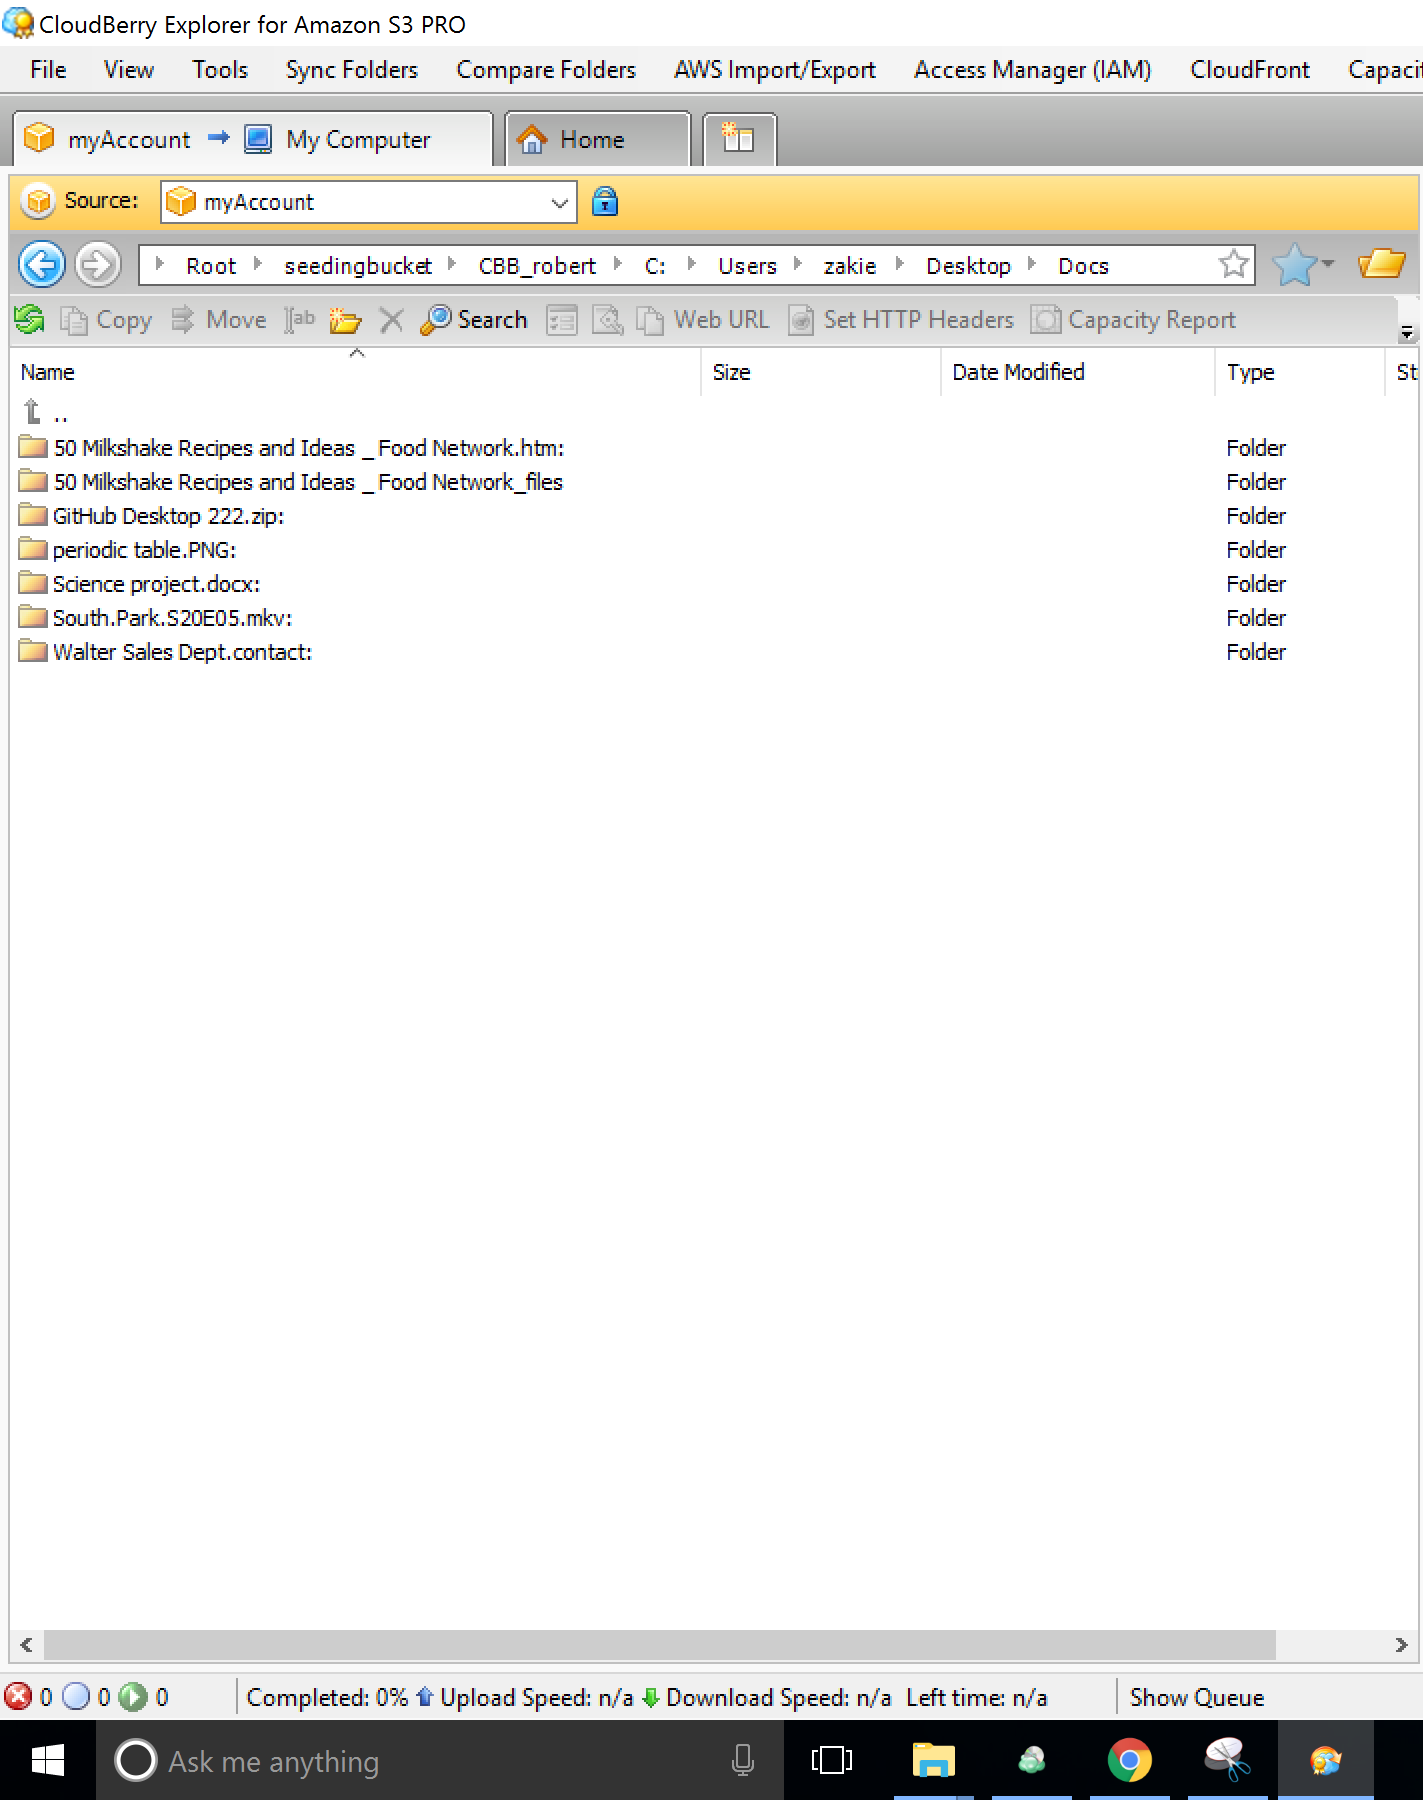
Notice that we only have 7 files in the “Docs” folder. Now let’s get back to that very folder on the “Slow PC”, add a file to it and do the same process again. As you see on the screenshot below, 2 files were added (their names start with “NEW”).
Launch CloudBerry Backup on the “slow PC” and create the exact same backup plan as you did on the “fast PC”. Before you run the plan, ensure that all repositories are synced to avoid reuploading large files. To do so, go to Cloudberry Options.
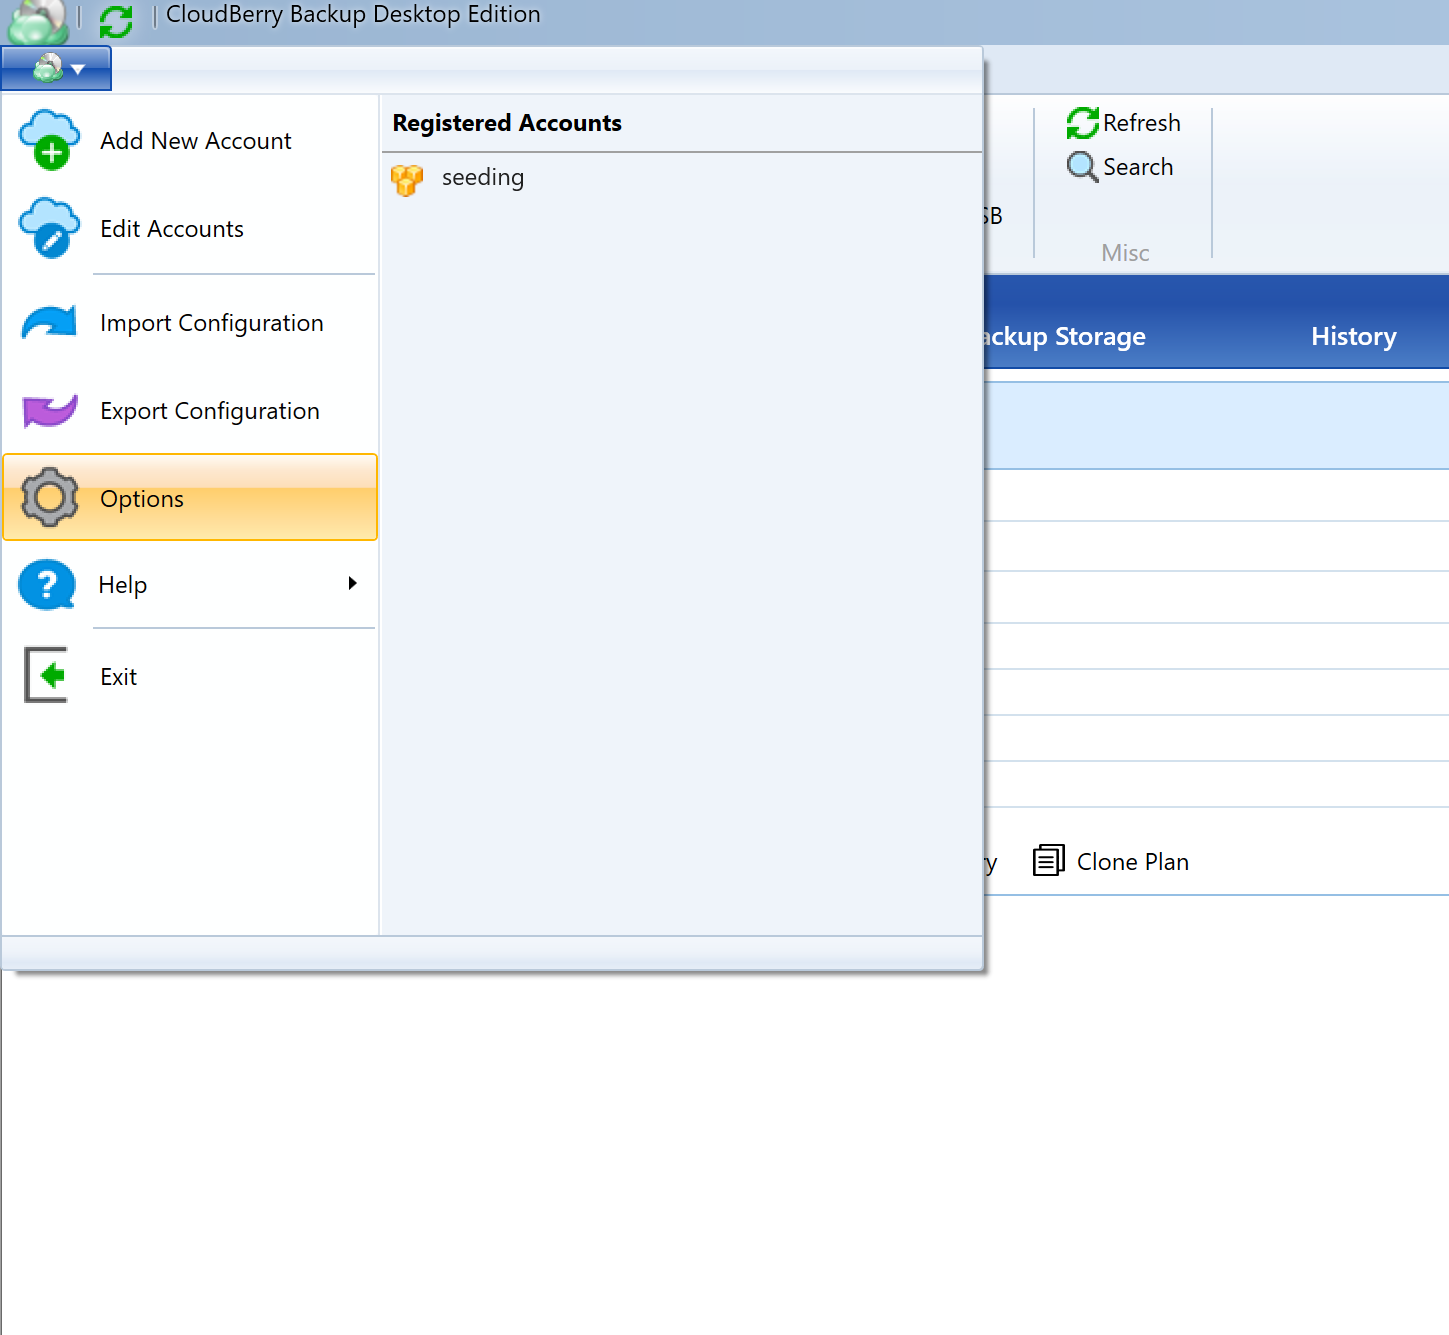
Under Repository, click Synchronize Repository, and then click Synchronize Now.

Then close the pop-up window and run the backup plan. All added files should appear in your cloud storage.
Likewise, whenever you modify any files within that folder, just run the backup plan and you’re good to go.
If you still have any questions regarding seeding data — feel free to drop us a line at support@cloudberrylab.com, and we will get back to you shortly.